
Animal Hospital Night Shift Treatment Rooms Guide
Rooms 1–8 — DNA scans, X-ray, heart monitor, and surgery workflows.
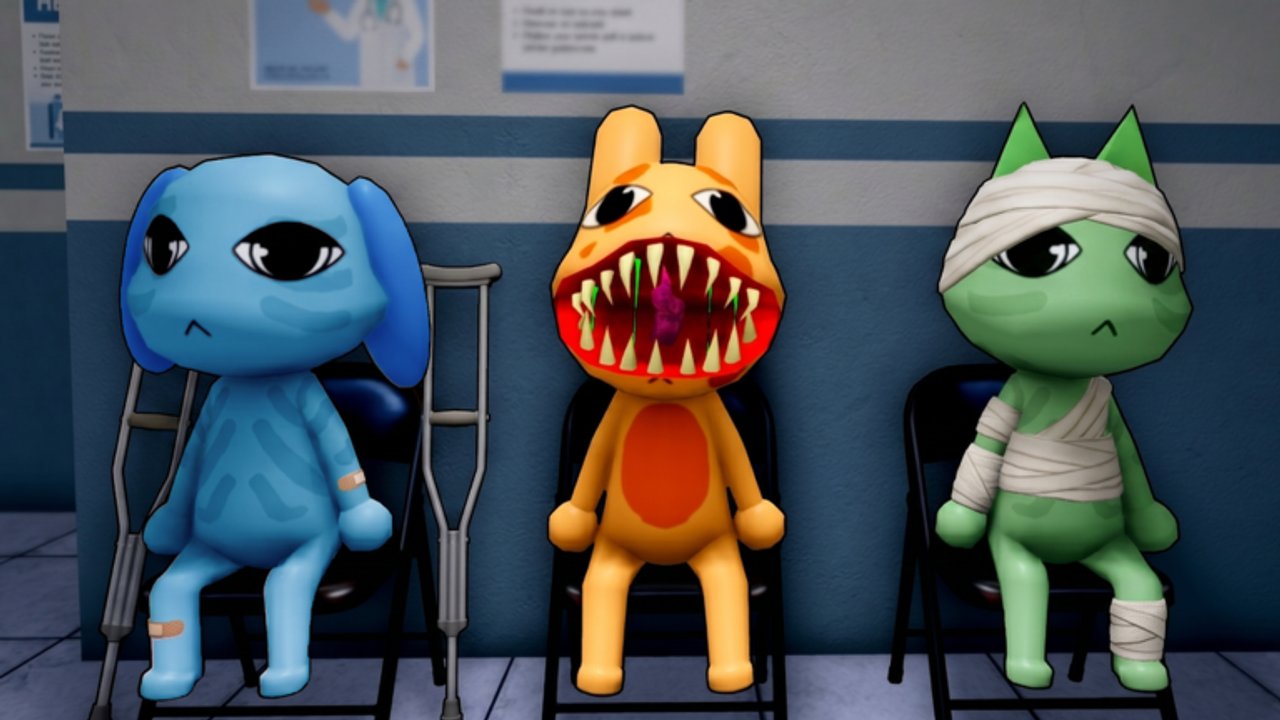
After you admit a real patient at the Shutter, treatment happens in eight numbered rooms split across two wings. Rooms 1–5 on the right corridor handle basic medical care — primarily DNA scans. Rooms 6–8 on the left Emergency Wing unlock at Shift 3 and cover X-ray, heart monitoring, and timed surgery. Wrong items kill legitimate patients; correct workflows earn Animal Coins and keep Sanity stable. This guide walks every room so your team stops guessing mid-shift.
Treatment principles (all rooms)
Before room-specific steps, internalize these rules:
- Read the prompt before grabbing inventory items.
- Move the patient to the correct room — the game assigns or displays required station.
- Finish active patients before stacking admits — a patient inside beats a new arrival at the desk.
- Call handoffs in co-op — location, task, remaining timer.
- Return to desk only when stable or another player owns the room.
Admitting during Ambulance surges while three DNA scans run is the fastest path to neglected-patient Sanity loss. Events Guide covers when to break this rule.
Right wing — Rooms 1–5 (DNA scans)
Rooms 1 through 5 are structurally similar basic medical bays. Each runs a DNA scan minigame: escort the patient inside, interact with equipment, apply the prompted medicine or tool, and wait for the scan timer.
DNA room workflow
- Escort admitted patient from check-in to assigned room (1–5).
- Read treatment UI — species, symptom, required item.
- Pull correct consumable from inventory or wall cabinet.
- Start scan and monitor progress bar.
- Discharge patient when complete; clear hallway for next admit.
DNA rooms allow brief AFK — you can step out while timers run if no emergency fires in that room. Still assign ownership so Ambulance nights do not orphan patients.
Room 5 special — hidden safe lore
Room 5 contains a poster (cat in hazmat suit) hiding a lore safe behind the wall. After Ratthew’s storyline drops a key across multiple shifts, remove the poster and unlock the safe for Rattina photo and shadow-experiment notes. Gameplay reward is lore, not healing — see Secrets and Easter Eggs. DNA treatment still functions normally in Room 5.
Common DNA mistakes
- Guessing medicine from color instead of prompt text.
- Starting scan then rushing to desk during Shift 4 Ambulance — patient dies off-screen.
- Using wrong item on real patient — counts toward failure limit.
- Using wrong item on hidden anomaly — sometimes eliminates threat without penalty (backup only).
Left wing — Emergency Wing (Shift 3+)
Completing Shift 2 and starting Shift 3 opens the left corridor: Room 6 X-ray, Room 7 heart monitor, Room 8 surgery. Grab the free Taser and Fire Extinguisher when this wing opens — emergencies spawn here often.
Room 6 — X-ray
Room 6 performs X-ray imaging on patients needing internal diagnosis.
- Escort patient into X-ray bay.
- Follow prompt to position patient at imaging panel.
- Activate scan; wait for image reveal.
- Apply follow-up item if UI requests post-scan treatment.
- Discharge when vitals stabilize.
Glass windows let desk staff observe X-ray patients — useful for co-op callouts. Head Bangers can crack glass cosmetically if not calmed; gameplay continues but bangers cannot return through shattered panes.
X-ray patients sometimes overlap patient on fire events — Float with extinguisher covers Room 6 while Check-in holds Ambulance intake.
Room 7 — Heart monitor
Room 7 runs heart monitoring sequences: attach monitor, stabilize rhythm, respond to alert beeps.
- Bring patient to monitoring bed.
- Connect heart monitor per interaction prompt.
- Watch vitals UI — respond when alarms spike.
- Administer prompted medication or shock protocol if displayed.
- Maintain until flatline risk clears; discharge patient.
Heart monitor rooms pair with critical patient emergencies (longer timers, roughly 100–120 seconds). Prioritize Room 7 alarms over new DNA admits when both compete.
Bed Monster encounters spawn under beds in treatment areas — stay out of red zones under the mattress. Maple syrup lures the Bed Monster away safely; stock after Ron from Accounting mentions it.
Room 8 — Surgery
Room 8 is the timed surgery minigame — the highest-focus room in Animal Hospital.
- Escort patient to surgical table.
- Read pre-op prompt — instruments and order matter.
- Complete surgery steps within the countdown.
- Stay until completion — unlike DNA rooms, leaving mid-surgery fails the patient.
- Discharge immediately after success animation.
Surgery Monster events spawn here with roughly 45-second budgets — shortest alongside monster-eating-patient scenarios. Assign your most experienced player or Surgeon Class.
Wrong instrument choices hurt real patients. Practice Shift 3 solo or duos before endless nights stack Surgery Monster with Ambulance horns.
Room assignment logic
The game routes patients by condition — you do not freely pick Room 8 for a sniffle. Trust UI arrows and reception prompts. If co-op handoff occurs, verbalize “Room 7 heart alert, thirty seconds left” not “left wing.”
Co-op room ownership
| Players | Suggested split |
|---|---|
| 2 | Desk + runner (all rooms) |
| 3 | Desk, DNA 1–5, Emergency 6–8 |
| 4 | Desk, DNA, Imaging 6–7, Surgery 8 + Float |
Imaging Lead learns Room 8 first — surgery wipes propagate to whole team.
Treatment vs anomalies
Treatment rooms heal admitted real patients. Anomalies should never arrive here if Shutter checks worked. If a Skinwalker reveals mid-treatment, abandon room only if Taser carrier responds — otherwise hold patient stability while combat resolves.
Roaming enemies (Bed Monster, Stalker, Slime) enter rooms independently — carry syrup, avoid staring, clean green sludge tiles with E when safe.
Inventory and shop stock
Between shifts, buy treatment consumables matching your weakest room. Shift 3 opens shop RNG — reroll if critical surgery items missing. Classes like Paramedic and Nurse speed corridor movement for Emergency Wing sprints.
Quick reference table
| Room | Wing | Type | Can leave during timer? |
|---|---|---|---|
| 1–5 | Right | DNA scan | Briefly, if owned |
| 6 | Left | X-ray | Limited — watch fire events |
| 7 | Left | Heart monitor | No during critical alerts |
| 8 | Left | Surgery | No — stay until done |
Pair this guide with Getting Started for admit flow, How to Spot Anomalies so only real patients enter rooms, and How to Survive Shifts for Emergency Wing unlock timing.
Frequently Asked Questions
Quick answers for night-shift survival.
What is the difference between Rooms 1–5 and 6–8?
Rooms 1–5 handle basic DNA scan treatment on the right wing. Rooms 6–8 on the left Emergency Wing cover X-ray, heart monitoring, and timed surgery, unlocking at Shift 3.
Can I leave during a DNA scan?
Yes briefly — DNA timers run without constant input. Assign a owner so emergencies do not orphan the patient. Surgery in Room 8 requires you to stay until completion.
What happens if I use wrong medicine?
Real patients can die, counting toward shift failure. Wrong medicine on a hidden anomaly sometimes kills it without penalty — but always reject at the Shutter instead of guessing.
How do I counter the Bed Monster in treatment rooms?
Stay out of the red zone under beds. Use maple syrup to lure it away safely once Ron from Accounting hints at the item. Stock syrup before Shift 4+ Bed Monster events.